A warm welcome to all of you who are visiting our website and blog for the first time! Watch our blog and ‘TLC In The Kitchen’ Facebook Page for the new recipes we’re posting, growing and preserving information! We’re glad you’re here! We hope you enjoy the new website and find it to be a valuable resource!
Romaine Lettuce Suspected In E. coli Outbreak
Romaine lettuce is suspected to be the source of an E. coli outbreak and should not be consumed at the moment.
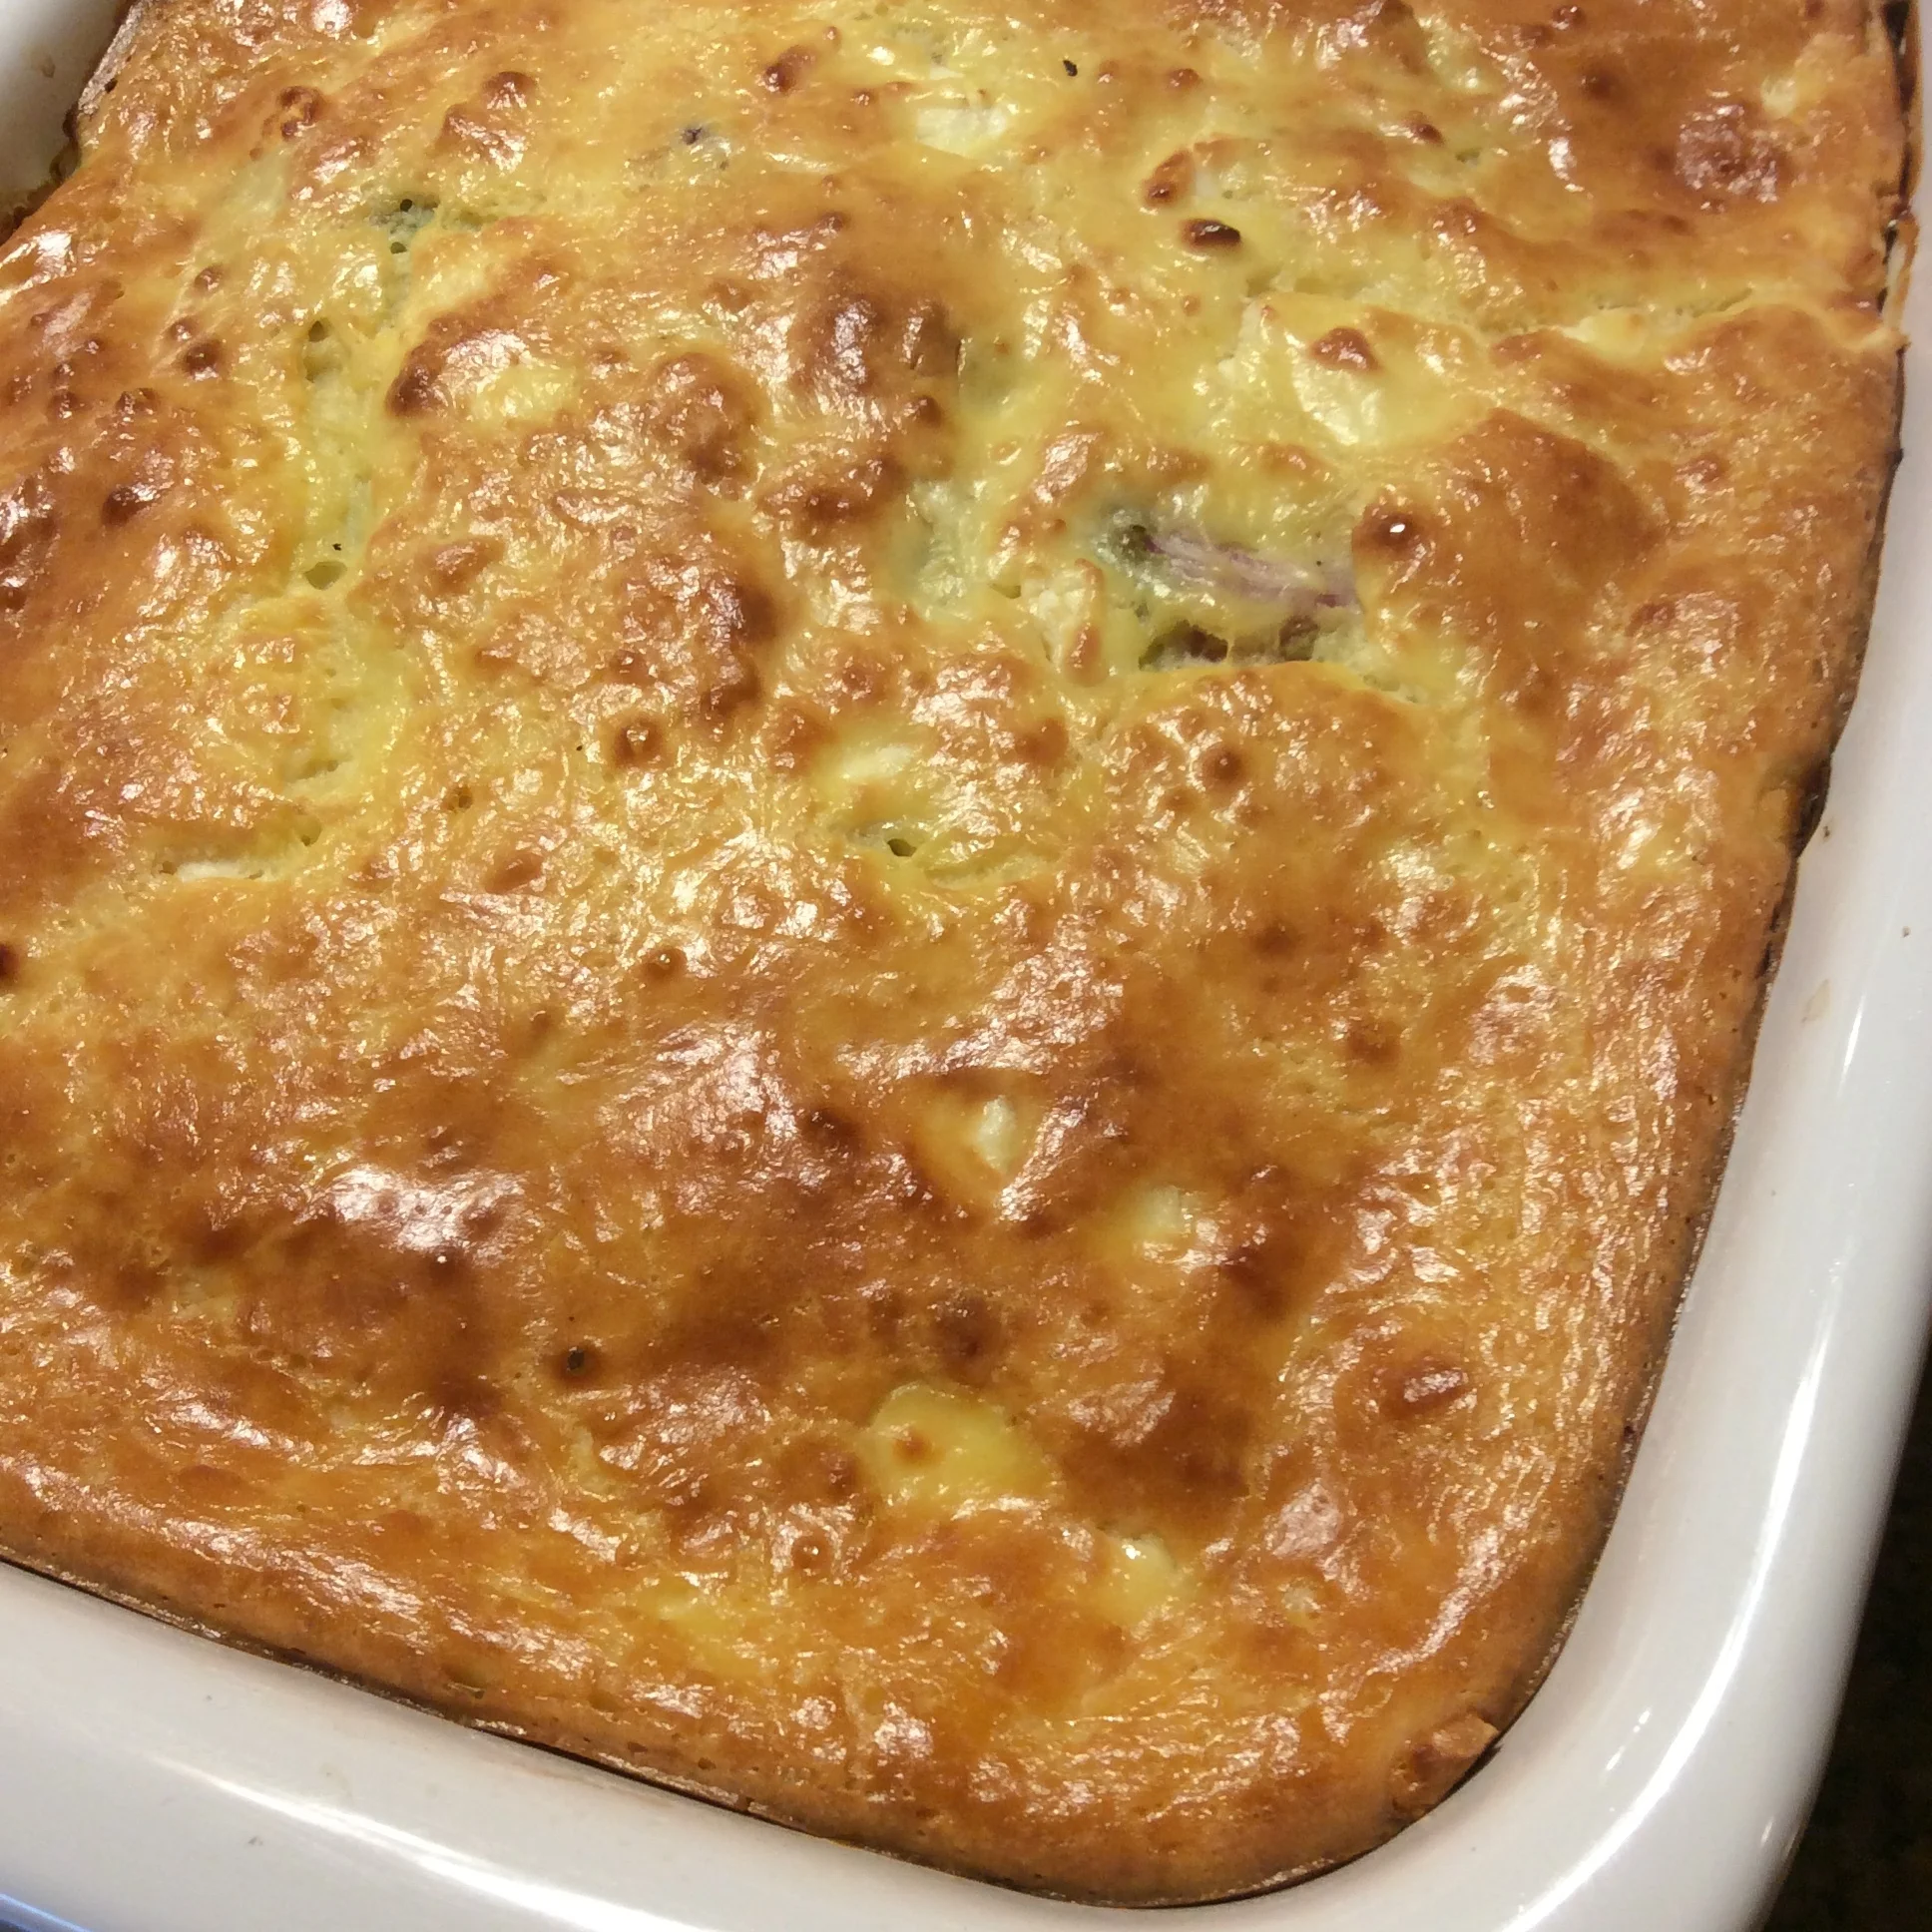
Cabbage Pie
With so many gorgeous heads of ‘KK Cross’ cabbage harvested from our garden this year it was time to add some new recipes to our collection! Warning! This cabbage pie recipe is rich and decadent! The medium head of cabbage (there was nothing ‘medium’ about ours) translates to about 8 cups of shredded cabbage. Not being a fan of mayo or sour cream...I substituted both for whole milk homemade yogurt with incredible results. If you are a cabbage lover this is definitely worth the occasional splurge.
https://food52.com/recipes/10231-delicious-cabbage-pie
Pumpkin Muffins
These pumpkin muffins were a huge hit at our Thanksgiving table! The Instant Pot works great for cooking fresh pumpkin for recipes. Cut in pieces to fit in a steamer basket or on the trivet. Remove the stem and seeds. Add a cup of water to the liner and program on manual for 13 minutes. Do a quick release and allow to cool a bit before removing the pulp.
https://sallysbakingaddiction.com/2016/09/30/pumpkin-crumb-cake-muffins/

Pretzel Rolls
When a certain little boy makes a point of telling you how delicious your Thanksgiving rolls were...you know they’re going to happen again at Christmas! This recipe makes great dinner rolls or buns for sandwiches. I bake them in a 9 X 13 baking dish lined with greased parchment paper because they do tend to stick.
https://sallysbakingaddiction.com/2017/08/11/easy-pretzel-rolls/

A Fermenting Fix!
I have Spring Fermenting Fever! I miss those beautiful jars of freshly harvested veggies from our garden bubbling away on the counter. I am eagerly planning and anticipating this year's harvest but I need a fermenting fix NOW! The cure for my Fermenting Fever? Our local Hy Vee had asparagus on sale for $1.48 per pound!
Last year I received the most delicious refrigerator pickle recipe (containing vinegar). I've had great success converting picking recipes into ferments...but there was something different about the flavor of this particular recipe. I finally figured it out! It uses dried onion instead of fresh! I used diced, dehydrated onions from our garden. This flavor combination would work well for asparagus, cucumbers, carrots, green beans or cauliflower. I hope you enjoy it as much as we do!
For each quart jar of fermented veggies:
1/4 teaspoon dried dill weed
1/4 teaspoon dried dill seed
1/4 teaspoon mustard seed
2 tablespoons dried diced or minced onion
1 tablespoon minced garlic
1 Bay leaf
Brine Ratio:
1 tablespoon sea salt dissolved into 1 cup water
For those of you just beginning your journey into fermentation...please visit our previous post 'Lacto Fermenting 101' and we will walk you through the easy and affordable process!
Happy Fermenting!

A Healthy Alternative to Cheerios
After reading numerous studies regarding the high levels of glyphosate in Cheerios, we began searching for a healthier alternative to use as a treat for our Goldendoodle, Riley. This recipe is a winner and she loves them! No...I don't cut them into cute little 'O's and she doesn't mind at all! This recipe makes a huge batch of treats that I store in the freezer except for the small bowl we leave on the counter...because you know she is always a good girl so we have to have some handy! I divide the dough between two standard-sized cookie sheets to make the rolling easier.
Instant Pot Meatloaf
I've had my eye on an Instant Pot for a very long time but kept wondering if I really needed to add one more kitchen gadget to my already giant collection. Well...we received a generous gift card for Christmas and when Ken asked if I would like to use it for something to cook with??? Yes!!! We've had our Instant Pot for two weeks now. I should have bought one a long time ago. It has made my meal prep so much easier and faster. I'm not sure it will ever have a place in our cabinets as we have been using it every day...sometimes multiple times a day!
I worked on meal prep yesterday in anticipation of the ice storm. Potatoes and eggs cooked in the Instant Pot made a delicious potato salad. I use Greek Yogurt (for the probiotic benefits) and combine it with a bit of mayonnaise, organic cane sugar, salt and pepper for the dressing.
Then I wondered what else I could cook in this little magic pot to have on hand just in case. Meatloaf! But could I really cook a meatloaf in the Instant Pot and have it not become a soggy mess? Would it be as good as an oven baked meatloaf? Oh my gosh! No soggy mess and truly the best meatloaf ever! Note: The beef was raised by a small family farmer. The onions, peppers and celery were pre-diced and frozen from our garden.
Instant Pot Meatloaf
1 1/2 lbs. ground beef
1 1/2 cups bread crumbs
3 eggs
1/2 cup diced onion
1/2 cup diced green pepper
1/2 cup diced celery
1 Tbl. minced garlic
1 Tbl. Chili powder
Salt and pepper to taste
2 cups water
Mix meatloaf ingredients.
I used a 6 1/2 inch pie plate to make it easier to form the loaf. Criss-cross two pieces of aluminum foil over the pie plate. Place ground meat mixture onto the foil and form the loaf. Roll up the foil to form a bowl around the meatloaf. Remember to form the meatloaf in a shape so that steam can rise around it in the Instant Pot. Brush with ketchup or Bar-B-Q sauce.
Place 2 cups of water and trivet in pot. Place foil wrapped meatloaf onto trivet. Program manual for 40 minutes. NPR for 10 minutes then quick release. Internal temperature should be 155 degrees. Depending on the thickness of your meatloaf an additional 5 minutes cooking time may be required.
Allow meatloaf to cool slightly. Remove foil and place on serving plate. Brush with additional sauce if desired.
I was tempted to leave my meatloaf on the pie plate while it cooked, but this particular plate is not marked and I was afraid it would not be safe to use in the Instant Pot. The aluminum foil bowl worked great and easy clean up!
Hope you enjoy the recipe!

An Update!
Hope everyone's New Year is off to a great start! I've taken a break to regroup and reorganize after a very busy 2016 growing season but will be back soon with some great new recipes!
It gets pretty hectic on our flower farm in the summer. In addition to maintaining our many flower gardens, freeze drying the flowers from them, caring for 100 plus container gardens, growing in our greenhouse and running our gift shop (Whew!)...we raise a big vegetable garden and preserve our produce. Our 2016 harvest yielded:
173 Quarts of Fermented Food
104 Pints and 49 Quarts of Canned/Pressure Canned Food
232 Quarts and 37 Gallons of Frozen Food
16 Quarts of Dehydrated Food
The meat and vegetables we do not grow ourselves are obtained from the local family farmers with whom we have built trusted relationships. It's been a joyful journey!
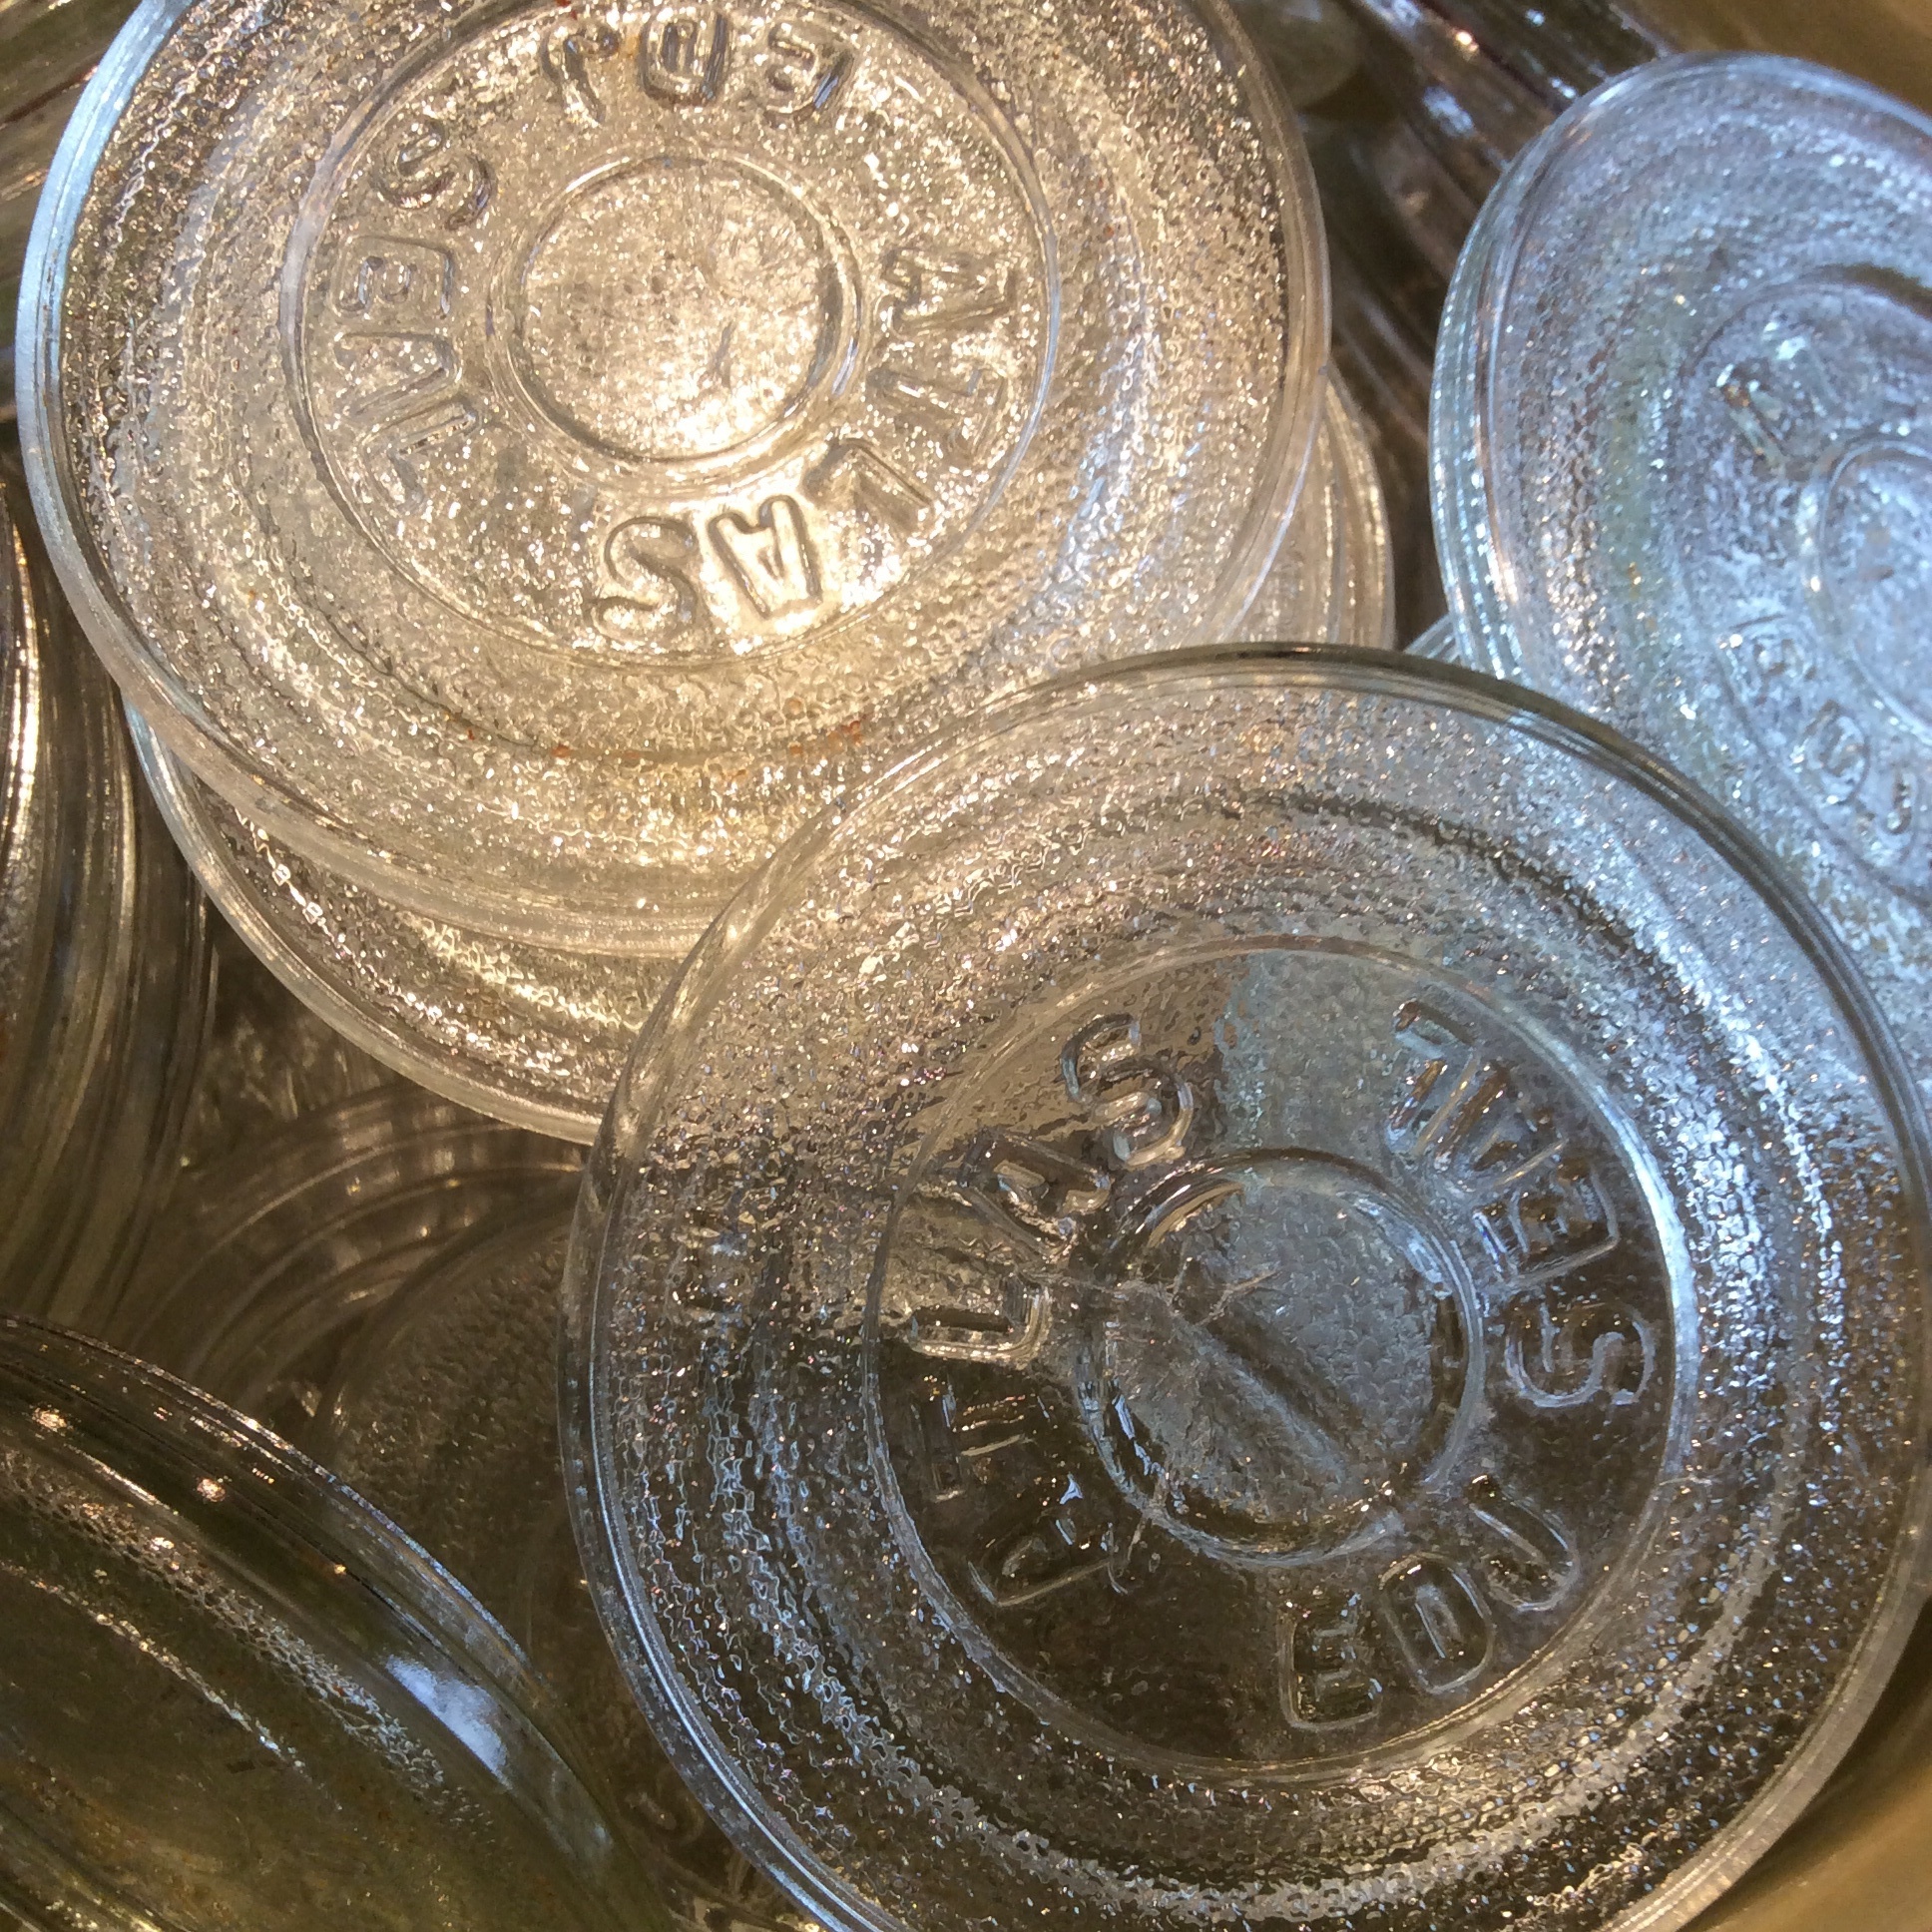
I do a little treasure hunting for our gift shop in the winter and I scored a HUGE fermenting treasure at yesterday's auction! 50 of these vintage glass canning jar lids that will make the perfect weights in wide mouth canning jars for only $13.00! What a find!
Will be back soon! Until then...
Happy Fermenting!
Sue's Fermented Salt and Pepper Tomatoes
Some time ago I found myself in search of a way to preserve the taste of a fresh garden tomato throughout the winter months. We had always used the traditional methods of preserving tomatoes including freezing, canning and dehydrating and they were good...but lacked that fresh tomato taste. Our fermented tomatoes are as close as you can get to that fresh-picked flavor!
Sue's Fermented Salt and Pepper Tomatoes
Clean and core tomatoes. Cut tomatoes into 1-1/2 to 2 inch chunks and place them into a (quart-sized) small mouth jar until jar is half filled. Add 2 teaspoons of sea salt and 1/2 teaspoon ground black pepper into jar and gently stir tomatoes. Continue to add tomato chunks into jar and stir until jar is three-fourths filled. (Allow a few minutes after each addition of tomatoes. This will give the tomatoes time to macerate and self-brine).
Place lid on jar and allow tomatoes to ferment for 2 to 3 days while stirring mixture twice daily.
Jar can be stored in refrigerator for 2 to 3 weeks.
BUT...
There is something special about opening a jar of these fresh tasting tomatoes in the middle of a Nebraska snowstorm, so we developed this method to safely store these tomatoes in the refrigerator for months!
After tomatoes have fermented, place kale leaves over mixture gently pushing tomato chunks below juice/brine. Cut two celery stalks and criss-cross them over the kale leaves. Lodge the celery sticks under the shoulders of the jar to hold everything beneath the brine. Add additional brine or juice to jar to ensure that all food (including celery stalks) is submerged.
Place jar in refrigerator for a period of 24 hours. Check brine level once again before placing it into long-term refrigerated storage.
This is a favorite ferment among those who have attended our 'Lacto-Fermenting 101' classes!
Paste-type tomatoes are not good candidates for this ferment as they create a very small amount of juice. We prefer the taste of our favorite heirlooms.
Happy Fermenting!

Growing Celery...
With a Freeze Watch in place it's time to finish the harvest. Our rare flowering plants are safe in the greenhouse. The large green tomatoes have been picked and brought inside to ripen and we are finishing the celery harvest. 'Conquistador' performs well in our climate. Another favorite is 'Peppermint Stick'...beautiful with it's red striping.
Use celery fresh during the growing season then dice and freeze it, ferment it or dehydrate for winter use. Celery makes a great weight when fermenting. Simply cover your ferment with kale leaves then criss-cross two celery stalks while wedging them under the shoulder of a small mouth jar to keep everything submerged beneath the brine. Easy and inexpensive!
After harvesting the stalks from the plant, it can easily be dug and potted. It will regrow in a sunny window.

Veggie Garden Harvesting!
The next project of the day! 'Bolero' carrots just harvested from the garden...and some measure 14 inches long!

Fermented Green Beans
We take full advantage of the growing season in our vegetable garden. When a row of produce is harvested, new seeds are planted with the hope for a second crop. We just harvested these beautiful 'Jade' green beans! A perfect excuse to ferment some more!
Fermented Green Beans
Wash beans, remove ends and snap into pieces or leave whole. Add desired herbs and spices into bottom of a jar followed by tightly packed beans. We add sliced onion and minced garlic for their prebiotic qualities and added flavor. Use an appropriate weighting method to keep beans submerged and fill jar with a brine solution consisting of 1 tablespoon sea salt dissolved into 2 cups of water. Place lid on jar and allow to ferment for 1 to 3 weeks while burping daily. Can be stored for months in the refrigerator.
Suggested herb and spice combinations per quart jar:
1 teaspoon each dried dill seed and whole mustard seed
1 teaspoon dried dill weed or a sprig of fresh dill weed
1 teaspoon black peppercorns or Grains of Paradise
A helpful hint: It seems impossible to always have our choice of fresh herbs on hand so we tend to use dried herbs and spices in our ferments. To prevent the herbs and spices from floating to the top of the jar and creating a mold issue, we wrap them in a piece of cheesecloth and place it in the bottom of the jar.
Happy Fermenting!

Fermented Sweet Pepper Rings and Onions
Fermented sweet pepper rings and onions are the perfect addition to burgers, sandwiches and salads!
Place 1 tablespoon minced garlic in the bottom of a quart-sized jar. Layer sliced onions and peppers into jar and pack tightly. Use a proper weighting method to keep peppers and onions submerged under the brine. Fill jar with a brine solution consisting of 1 tablespoon sea salt dissolved into 2 cups of water. Cover and ferment for a period of 1 to 3 weeks while burping jars daily. Can be stored for months in the refrigerator.
Don't stop there! If you are a lover of hot peppers...ferment them and blend them into hot sauce!
Happy Fermenting!

Fermented Green Tomatoes
A great way to preserve the green tomatoes from your garden...ferment them!
Wash, tomato, remove the core and cut into 1 to 2 inch pieces. Place your favorite herbs or spices in the bottom of the jar then layer the tomatoes with slices of onion and sweet peppers for extra color and flavor. We love green tomatoes fermented with 1 teaspoon each of dill seed and mustard seed and add a tablespoon of minced garlic or garlic cloves. Bay leaves also add additional flavor. Other great herb/spice choices would be dill weed and black peppercorns. Use a proper method to weight your fermenting vegetables then fill the jar with a brine consisting of 1 tablespoon sea salt dissolved into 2 cups of water. Place lid on jar and allow to ferment for 1 to 3 weeks, burping jar daily. Fermented green tomatoes can be stored in the refrigerator for months.
For detailed vegetable fermenting instructions see our previous post...'Lacto-Fermenting 101'.
Happy Fermenting!

Beer Bread
This batter bread is perfect for panini-style sandwiches! Toast some slices for an extra flavorful BLT!
Beer Bread
3 cups self rising flour
3 tablespoons sugar
1 (12 ounce) can beer
Optional: 2 tablespoons dried herbs
Mix all ingredients together and pour into a greased loaf pan. Bake at 375 degrees for 35 to 45 minutes. Brush with melted butter.

Freezer Coleslaw
We've harvested some gorgeous cabbage this year! This is an easy coleslaw recipe that you can make ahead and freeze. It stays crunchy and is packed with flavor!
Freezer Coleslaw
16 cups cabbage, shredded
2 teaspoons salt
2 cups sugar
2 cups water
2 cups apple cider vinegar
2 teaspoons celery seed
2 teaspoons mustard seed
2 cups sweet red peppers, diced
2 cups carrots, grated
Place cabbage in a large bowl and toss with salt. Allow to macerate for at least one hour.
Combine sugar, water, vinegar, celery seed and mustard seed in a large saucepan. Bring to a boil, stirring to dissolve sugar. Simmer for one minute. Remove from heat and allow to cool.
Drain any liquid from cabbage. Add peppers and carrots. Add dressing and stir to combine.
Place coleslaw in appropriate containers and place in freezer where it can be stored for 3 to 4 months.
To serve: Thaw coleslaw in refrigerator overnight.

Sue's Mexican Cucumber Salsa
I created this recipe last year when I had just a handful of cucumbers and tomatoes to use. My sweetie loved it so much we made it all summer! It's a delicious salsa with chips but doubles as a great salad if you toss in a few croutons right before serving. We prepare this recipe with a variety of heirloom tomatoes and use a mild jalapeño-type pepper called 'Fooled You' for just the right amount of heat. Feel free to substitute a different variety of pepper but you may have to adjust the amount of diced peppers called for in the recipe.
Sue's Mexican Cucumber Salsa
4 cups diced cucumbers, seeded and unpeeled
2 cups diced peppers
2 cups diced red onion
4 cups diced tomatoes
1 1/2 tablespoons sea salt
1 1/2 tablespoons minced garlic
2 teaspoons dried oregano
2 teaspoons dried cilantro
1 1/2 tablespoons lime juice
3/4 cup whey
Combine all ingredients in a large bowl and allow to stand for 30 minutes to blend flavors, stirring occasionally. Place salsa in jars leaving room for expansion. With a fork, push diced vegetables under brine. More brine will be created during ferment time. Open jars daily, gently stir salsa and push diced vegetables under the brine. Allow to ferment for 2 to 3 days. Place in refrigerator where it can be stored for 1 to 2 months.
Happy Fermenting!

Sue's Fermented Cucumber Relish
A fermented version of a traditional favorite!
Sue's Fermented Cucumber Relish
2 cups grated cucumber
2 cups finely diced onion
1/2 cup finely diced red and green peppers
1/2 cup finely diced celery
1/2 teaspoon sea salt
1 teaspoon celery seed
1/2 teaspoon ground turmeric
1 tablespoon Chia seeds
1/3 cup raw honey
1/4 cup whey
Place all ingredients in large mixing bowl. Gently stir until well combined. Place relish into jar leaving room for expansion. Place lid on jar. Stir relish once or twice daily. Allow to ferment for 2 to 3 days. Place jar in refrigerator where it can be stored for 2 to 3 weeks. Note: A food processor on the pulse setting works well to chop the cucumber, onion, peppers and celery into relish consistency.
Happy Fermenting!

Sue's Fermented Sweet Corn Relish
It's sweet corn season and I love creating fermented versions of traditional recipes! Chia seeds have a gelatin-like quality and give this recipe it's traditional consistency. See our previous post for making whey.
Sue's Fermented Sweet Corn Relish
3 cups fresh (raw) corn kernels
1/2 cup diced red onion
1/4 cup diced green pepper
1/4 cup diced red pepper
1 tablespoon Chia seed
1 teaspoon sea salt
1 teaspoon ground turmeric
1/2 teaspoon ground mustard
1 teaspoon celery seed
1/4 cup whey
1/3 cup raw honey
Place all ingredients in a mixing bowl. Stir well to combine. Divide mixture into two quart-sized jars allowing room for expansion during fermentation. Place lid on jars. Stir relish twice daily. Ferment time: 2 to 3 days. Place in refrigerator where relish can be stored for 2 to 3 weeks.
Happy Fermenting!
